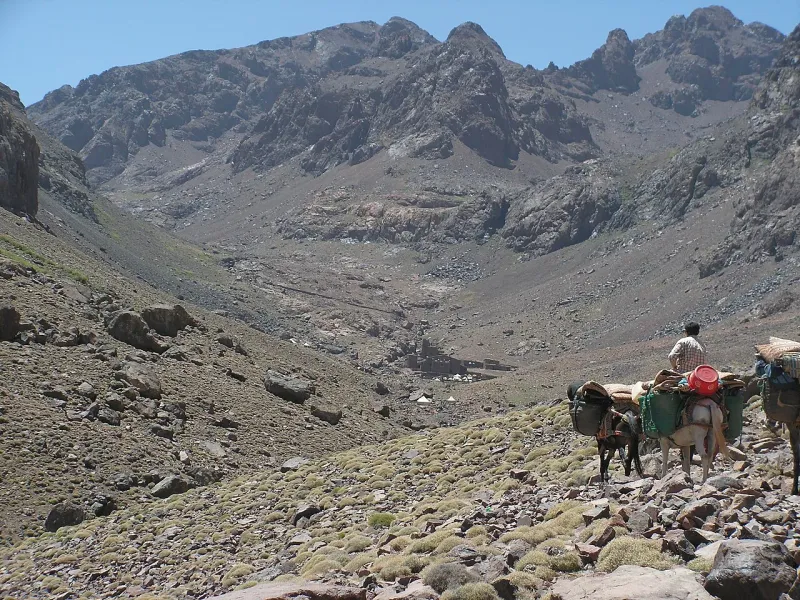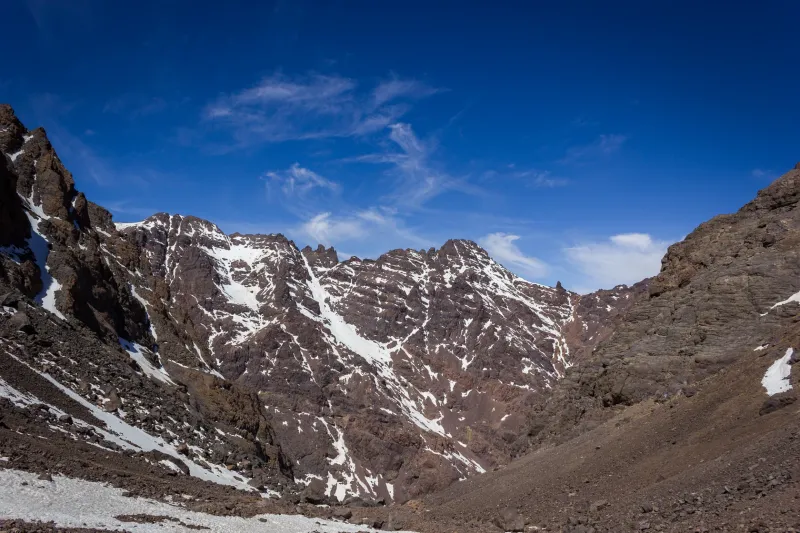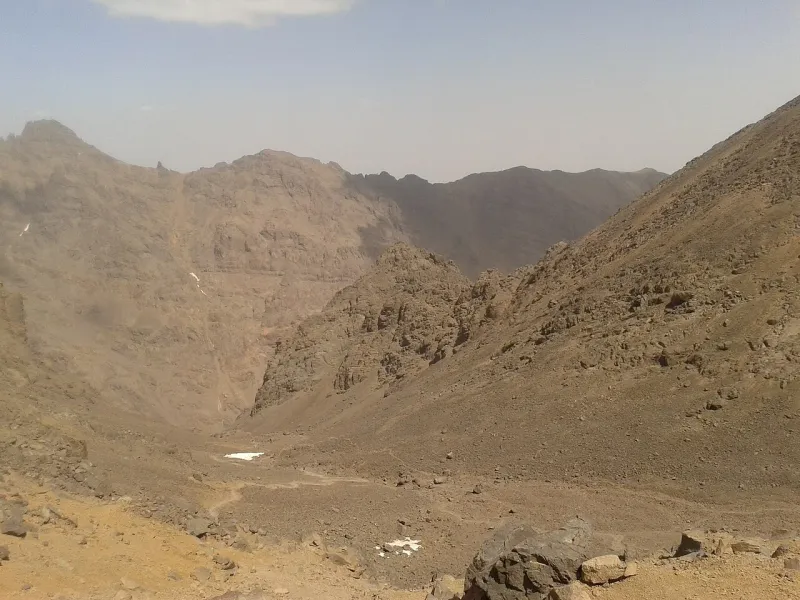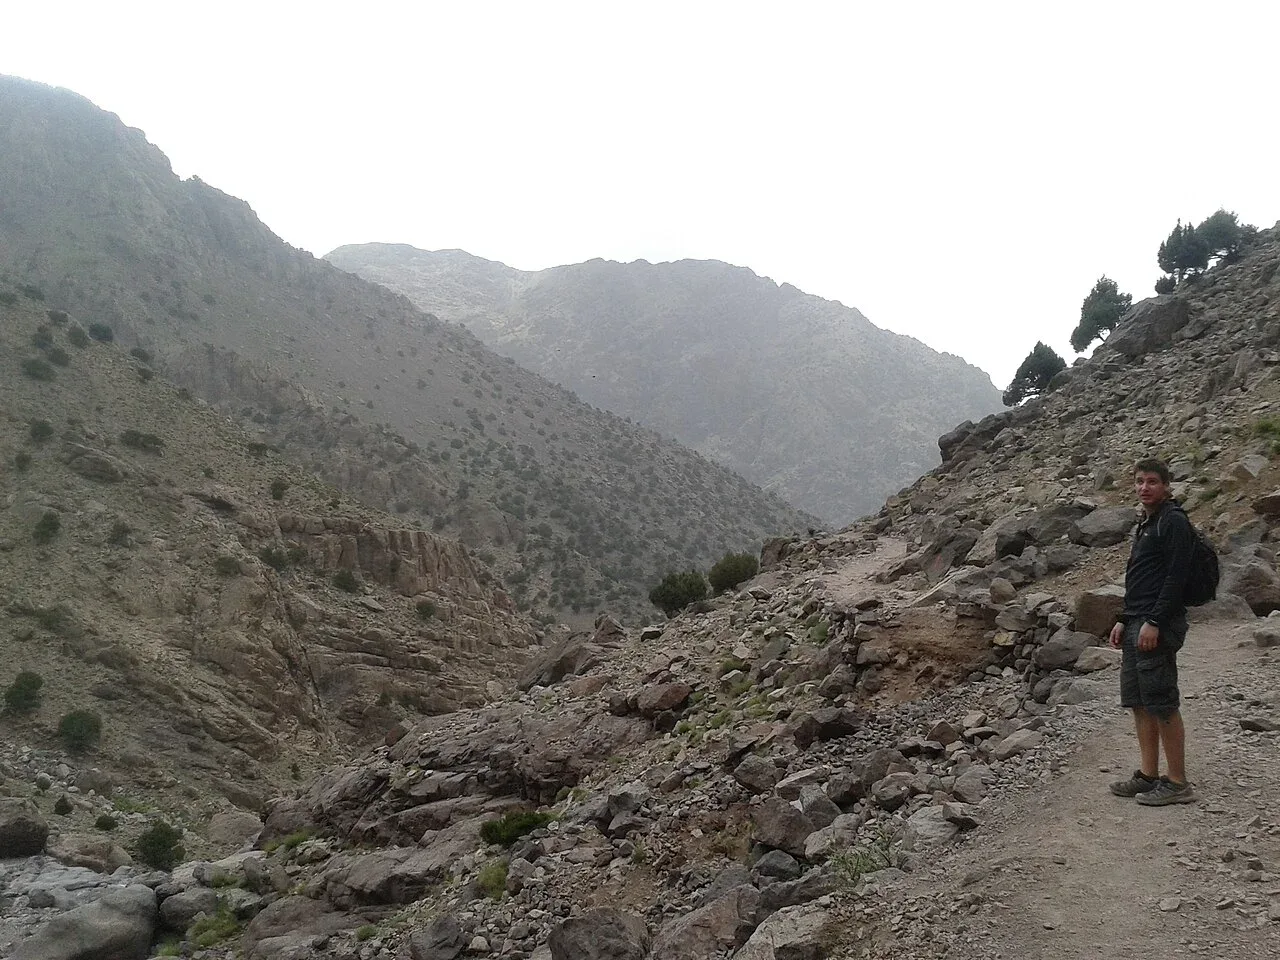
What should you pack for Toubkal? Carry layers, food, water, a headlamp, weather protection and equipment suited to the route and conditions. Pack separately for the overnight at about 3,200 m. Winter traction and boots need a fitting before you leave Imlil.
Which bag stays with you?
Start with things you must be able to use even if the main bag has already gone ahead. The road to Imlil may end at a place different from the meeting point for the walk. Expect a sorting-out period with the guide and luggage support. Keep layers and supplies easy to reach through it. On treks with luggage support, your day bag still needs room for essential supplies and spare layers.
| Keep on you | Carry in the day bag | Put in the hut bag when it goes separately |
|---|---|---|
| Broken-in boots and suitable socks | Waterproofs, warm layer, hat, gloves and sun protection | Dry overnight clothing and bedding needed for your hut |
| Identification and essential medicines | Water, food, headlamp and backup power | Wash kit and spare items for after the walk |
| Navigation and emergency contact information | Trek-specific gear your guide wants available | Things you can comfortably go without if the bag arrives late |
You may have to carry everything in some conditions. Baggage support can be limited by the weight in a bag or by the stops an animal or porter can reach. Those limits matter even if the same team carries for the whole route. The overnight bag still needs to keep clothes dry if it travels separately. Carry the things you would need for a cold wait or an early descent in the bag that stays with you.
| Stage | Reference figure | Confirm before leaving |
|---|---|---|
| Start in Imlil1 | 1,741 m | Water, boot fit and bag transfer |
| Refuge night2 | About 3,200 m | Bedding, cold layers and hut bag access |
| Winter climb example3 | 3 days | Boot and traction compatibility and guide instruction |
The climb out of Imlil
Use boots and socks you have walked downhill in with the pack you intend to carry. A fit that feels good on flat ground can pinch toes on a prolonged descent. Adjust the straps until the load stays in place on steps. Put a wind or rain layer at the top of the pack so you can use it at the first exposed part of the route. Food and water should be accessible on the move or at short stops.
The Neltner hut publishes separate meal prices. A guided package can include trail meals, hut meals or both. Water sources and any treatment needed vary along the actual walk, so keep drinking water in the day bag while travelling between reliable stops. Bring water capacity and any treatment the guide advises for the route. When determining the first carry, include the gap between the vehicle drop-off and your first meal stop. On summit day you will also need food that works with an early start and lower temperatures.
The refuge and early start
The refuges publish different room and meal options. Bring a liner or sleeping bag if the bedding in your booking does not suit the expected overnight temperature. Keep a dry layer for the overnight. Lay out the layers, torch and supplies you will use first in the morning. Looking for small items while others sleep or waiting for a battery to charge can delay the departure. Bring a plan for power that works without a shared socket. Save the guide’s number, the pickup pin and your refuge booking offline before the transfer. Carry a paper copy of the booking if the phone that holds it also supplies your navigation and alarm.
Agree when the guide expects to leave the refuge. For a start before daylight, keep the headlamp handy and use the departure time and meeting place agreed with the guide. A headlamp that works with gloves and has reserve power is more practical than a phone light. Set the alarm and agree who makes sure the party is present. The night can be uncomfortable at this height; talk to the guide about altitude symptoms as described in the difficulty guide.
Snow and ice equipment
Winter snow or hard ice can require traction and skills beyond dry-route walking. The qualified leader assesses the terrain and the kit before departure. The winter itinerary shows how winter guiding and overnight arrangements can differ. Imlil shops list crampons, ice axes and boots for hire. Sizes depend on stock, and collection, return and extra-day charges depend on the shop. Try the actual boots and traction together before setting out.
Cold makes a misplaced glove, a damp layer and a dead battery more consequential. Secure specialist equipment so it can be reached without spilling other gear. The guide can show how the equipment fits and what needs to be ready when the surface changes. Keep dry spare gloves somewhere protected. The guide should decide what gear and abilities are appropriate for the conditions. Ability to hire equipment in the valley does not tell you whether the route is viable.
Pack for the descent too
Keep food, water and layers available after you have reached the high point. On a compact two-day trip, there is a long stretch after picking up the overnight things at the huts. Know which items move from the hut bag to the day bag for that section. Make sure you can wear or carry the total load if baggage arrangements change. If the last descent is a separate day, set aside what you need overnight before sending anything to Imlil.
Before leaving the village, lay out each walker’s layers, lamp, water and route-specific gear where the leader and walker can see it. It is easier to spot a missing item there than at the refuge. Share the itinerary and emergency contacts offline, and decide who holds a copy that is available even if one phone gets wet or runs out of power.
Equipment for the descent
Take the steps down in your walking shoes before committing to them for Toubkal. On a steep descent, a loose heel or toes touching the end of the shoe can become a bigger problem after hours on the trail. Test the socks you will wear and use a bag you have already carried on uneven ground. There may be little room for the group to stop together on a rocky upper section. Put the layers you are most likely to use where you can reach them at a broad, sheltered stop. A spare sock or a way to deal with an early rub belongs where you can get to it before the refuge.
For the summit attempt, pack warm and weatherproof clothing, water and food even if you leave the overnight bag at the hut. Poles can help on loose descents. Snow and ice can still require winter traction on the way down. The party may return much later than it set out if the two-day itinerary ends at the road. Keep a light and reserve power available after you finish the upper section. Work out what stays with you after any mid-day bag collection.
Equipment by stage
Before flying. Put boots on with the intended socks and walk downhill somewhere familiar. Adjust the straps, walk in your layers and switch on the lamp. Poles, heavy boots and winter kit may count differently toward baggage limits for your carrier. Any gear supplied by the package still has to be fitted and carried on the route if it is not worn from the start. Pack what you need to leave the road where you can reach it on your travel day.
Before leaving Imlil. The winter guide chooses equipment for the upper route. Fit hired items in the village and practise with any unfamiliar equipment before climbing. If switching to another start point, make sure the luggage team knows where to meet. Wear the footwear you have tested with the hire equipment.
At the refuge. If the overnight bag stays in the hut, put dry layers, water and a headlamp in the bag you carry. Have a place for spare power and a way to keep your water available. Neltner prices breakfast separately. An early departure may need food you can carry and eat on the trail.
Daypack gear by terrain
On the Imlil approach you need what you normally use for several hours on your feet and the layers for likely wind, shade and rain. Pack for the upper section separately. Small items such as gloves can be hard to find without a system, especially when you are using a headlamp. The Imlil equipment rental guide covers fittings and rental terms before you leave the village. With a hut bag going separately, mark it and keep a copy of the accommodation and transport details. When the party descends early, note whether the bags have reached the refuge, are still in Imlil or are with the baggage team. Each location needs a different handoff. Keep critical medication, protective layers and the lamp independent of the transport.
The trail food and water guide separates what you can carry out of Imlil, what your package supplies and what a hut can sell. A late start, a closed stall or a change of route can leave a longer stretch between them. The team should give an idea of where you can refill and whether the source or container needs treatment. Keep reserve capacity for a delay or a longer walk back from the refuge. Talk about the expected ground and wind before changing out the gear that keeps the pack small. The route and season answer what kit matters most, and the season guide puts the condition checks in order.